The self-guided audio tour market was valued at USD 1.5 billion in 2023 and is expected to reach USD 4.8 billion by 2031. This reflects a major shift toward independent, personalized travel experiences.
The transition started as a necessity during the global pandemic, when travelers sought socially distanced alternatives to crowded group tours. Now, that preference for flexibility and digital autonomy has become permanent.
If you're a tour operator or destination marketing organization (DMO) looking to tap into this growing trend, this article will guide you through everything you need to create a self-guided tour.
What Is a Self-Guided Tour?
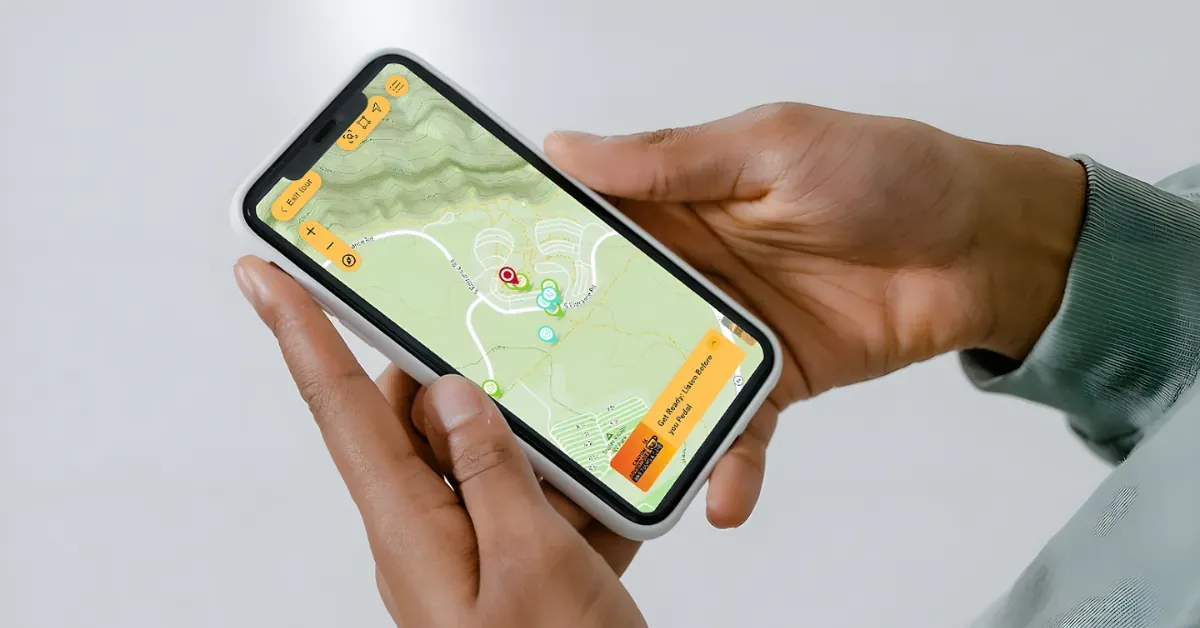
A self-guided tour is an experience where visitors explore a location independently, typically using a mobile app or audio guide to navigate and learn along the way.
Unlike traditional guided tours with a live person leading the group, self-guided experiences put the visitor in the driver's seat.
These tours come in several formats:
- Walking tours guide visitors through urban neighborhoods, historic districts, or museum galleries on foot.
- Audio tours deliver narration through headphones, bringing stories and context to life as people move from point to point.
- Driving tours cover larger areas, perfect for scenic routes or sprawling historical sites.
- Cycling tours combine exercise with exploration, ideal for parks, waterfronts, or bike-friendly cities.
No matter the medium, the underlying success of these formats is rooted in the significant advantages they offer over traditional guided experiences. Travelers can explore at their own pace, skip or revisit stops, and focus on what interests them most.
For organizations, they reduce staffing needs, remove scheduling limits, and open new revenue streams through digital access. Tours can also be updated anytime and offered in multiple languages, making them accessible to everyone.
8 Steps to Creating a Self-Guided Tour App
The shift toward self-guided experiences isn't just a trend. It's a fundamental change in how people want to learn and explore. Now let's dive into how you can create one that stands out.
Step 1: Choose a Platform That Doesn't Require Coding Skills
Before planning routes or writing stories, start with the right platform. It will shape how smoothly your tour runs and how much time you spend creating instead of fixing tech issues.
The reality is most destination managers, curators, and content creators aren't software developers. You shouldn't need to be.
Writing code, fixing bugs, and managing app systems takes time and money. It also distracts you from what matters most—creating an unforgettable visitor experience.
That's why choosing a no-code platform is crucial. These tools provide intuitive interfaces where you can build sophisticated tours using drag-and-drop features, simple forms, and visual editors.
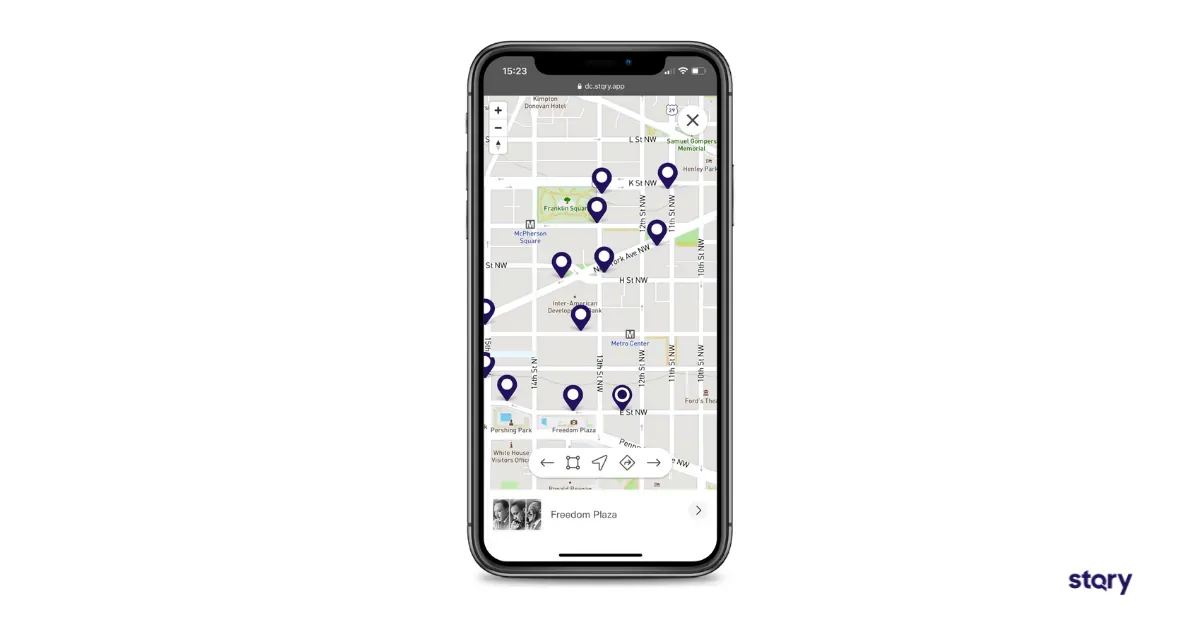
STQRY stands out as the leading platform for creating self-guided tours without technical barriers. Trusted by a diverse range of users, including the Events DC, Ruka Afrika, Kiwi Park and many cultural organizations worldwide, STQRY offers everything you need in one streamlined package.
STQRY also supports global visitors by offering multilingual capabilities for over 50 languages and enhances accessibility with features like audio-described tours.
Step 2. Define Your Niche & Audience
Once you've secured your platform, it's time to get specific about who will take your tour and what they're hoping to gain from it. This foundational step shapes every decision that follows, from the stories you tell to the technology you deploy.
Start by asking what makes your destination special. Maybe it’s historic architecture, untold community stories, or a scenic natural trail. Your niche shapes how visitors experience your location.
Next, paint a detailed picture of your ideal visitor. Are they history buffs who devour every detail? Casual tourists seeking Instagram-worthy moments and quick facts? School groups on educational field trips?
Each audience has different needs, attention spans, and expectations that you should account for when designing your self-guided tours.
Step 3. Select Location Trigger Methods
Location triggering is the invisible magic that makes self-guided tours feel seamless. As visitors approach a point of interest, content automatically appears on their device.
GPS-based geofencing sets virtual boundaries that trigger content when visitors enter a specific area. It works outdoors without extra equipment, covering roughly 30 to 200 feet. It’s affordable and easy to set up, though accuracy drops near tall buildings, dense trees, or indoors.
Bluetooth beacons are great for indoor spaces or when you need precise control. These small devices trigger content within 10 to 50 feet, perfect for museums or galleries. However, they require hardware setup and maintenance.
Many successful tours use hybrid approaches that combine both methods strategically. Outdoor portions rely on GPS, while indoor sections switch to beacons.
Step 4: Plan the Route & Experience Logic
A great self-guided tour is more than a list of stops. It’s a thoughtful journey with flow and purpose.
Begin by defining your path, including where it starts, each stop along the way, and where it ends. Pick a starting point that’s easy to find and accessible.
Most walking tours work best with 8 to 12 stops. Too few feels short, while too many can tire visitors. Plan a route that builds your story by time, theme, or architecture.
Then, end somewhere natural, such as a café, gift shop, or transit stop. Don’t forget to adjust your route to fit whether people are walking, driving, or cycling.
Step 5: Build & Upload Content
Content turns ordinary places into meaningful experiences, and your chosen platform determines how those stories come to life.
The best tour builders let you mix formats—audio for storytelling, text for context, photos for visuals, and short videos for added depth. Some even support augmented reality (AR) so visitors can see how a site looked in the past or uncover hidden details.
Within your platform, structure your content into clear stops with titles that spark curiosity. At each stop, start with a strong hook such as a surprising fact or vivid description to draw visitors in.
Then, blend facts with human stories so your tour feels both informative and emotionally engaging.
Step 6: Conduct On-Site Testing & QA
Once your tour is ready, test how it works in the real world. Walk the full route with the tour open on your phone and check if each stop triggers at the right spot. Try approaching from different directions to see if timing and accuracy hold up.
Next, invite testers who represent your actual audience, since what feels intuitive to you might not be for them. Observe how easily they find the starting point, follow the route, and move between stops.
Then test under different conditions such as bright sunlight, rain, or crowded areas with poor data signals to uncover hidden issues.
Take notes, adjust triggers or instructions, and repeat the process until the experience feels natural and smooth from start to finish.
Step 7: Launch Strategy & Publishing
You’ve built your tour, and now it’s time to share it with the world. Start by deciding how visitors will access it. A standalone app gives you full control but requires app store approval and user downloads.
Publishing on a platform like STQRY makes it easier to reach audiences since visitors can explore multiple tours in one place.
Web-based tours are the easiest since they open right in a browser with no installation needed. However, many destinations combine methods, using web access for casual visitors and an app for those who want more features.
Once your delivery method is set, focus on marketing and visibility. Create buzz before launch through social media, email updates, and partnerships. You can start with a small soft launch to gather feedback and early reviews.
Finally, place QR codes at key points throughout your destination to make it easy for visitors to discover and start your tour.
Step 8: Maintenance, Feedback & Updates
The best self-guided tours keep growing and improving over time. Start by using analytics to understand how visitors interact with your tour. Look at which stops attract the most attention, where users drop off, and how long they stay at each location.
If people skip a stop, find out why. The content might need to be stronger, or the location might be hard to reach.
Then, gather feedback through in-app surveys and reviews. Check app store comments often and respond to all feedback, especially critical ones, to show visitors that you value their experience.
Once you’ve reviewed the feedback, keep your tour fresh with regular updates. Add new stops, adjust routes for seasonal changes, and make quick fixes if construction or other changes affect access.
Example of a Self-Guided Tour
Jane Clifford Heritage Vessels at the Wharf demonstrates how self-guided tours work in outdoor maritime settings. This tour brings historic ships and waterfront heritage to life through location-triggered storytelling.
Visitors at the wharf hear stories about the ships, the harbor’s maritime trades, and the lives of sailors and workers. The outdoor setup had challenges like weather and open spaces, but GPS triggers still worked well and gave visitors a smooth experience.
The tour connects what visitors see to the stories behind them. They might look at a vessel while hearing about its voyages or stand on a pier learning about past trade. This blend of place and history makes the experience more engaging.
Power Your Self-Guided Tours with STQRY
Creating unforgettable self-guided tours starts with the right tools, and STQRY gives you everything you need to bring your stories to life. We make it easy to design, build, and launch immersive self-guided tours without writing a single line of code.
You can also launch tours under your own brand and customize every detail to match your identity.
Ready to transform how visitors experience your destination?